Holly Cottage update

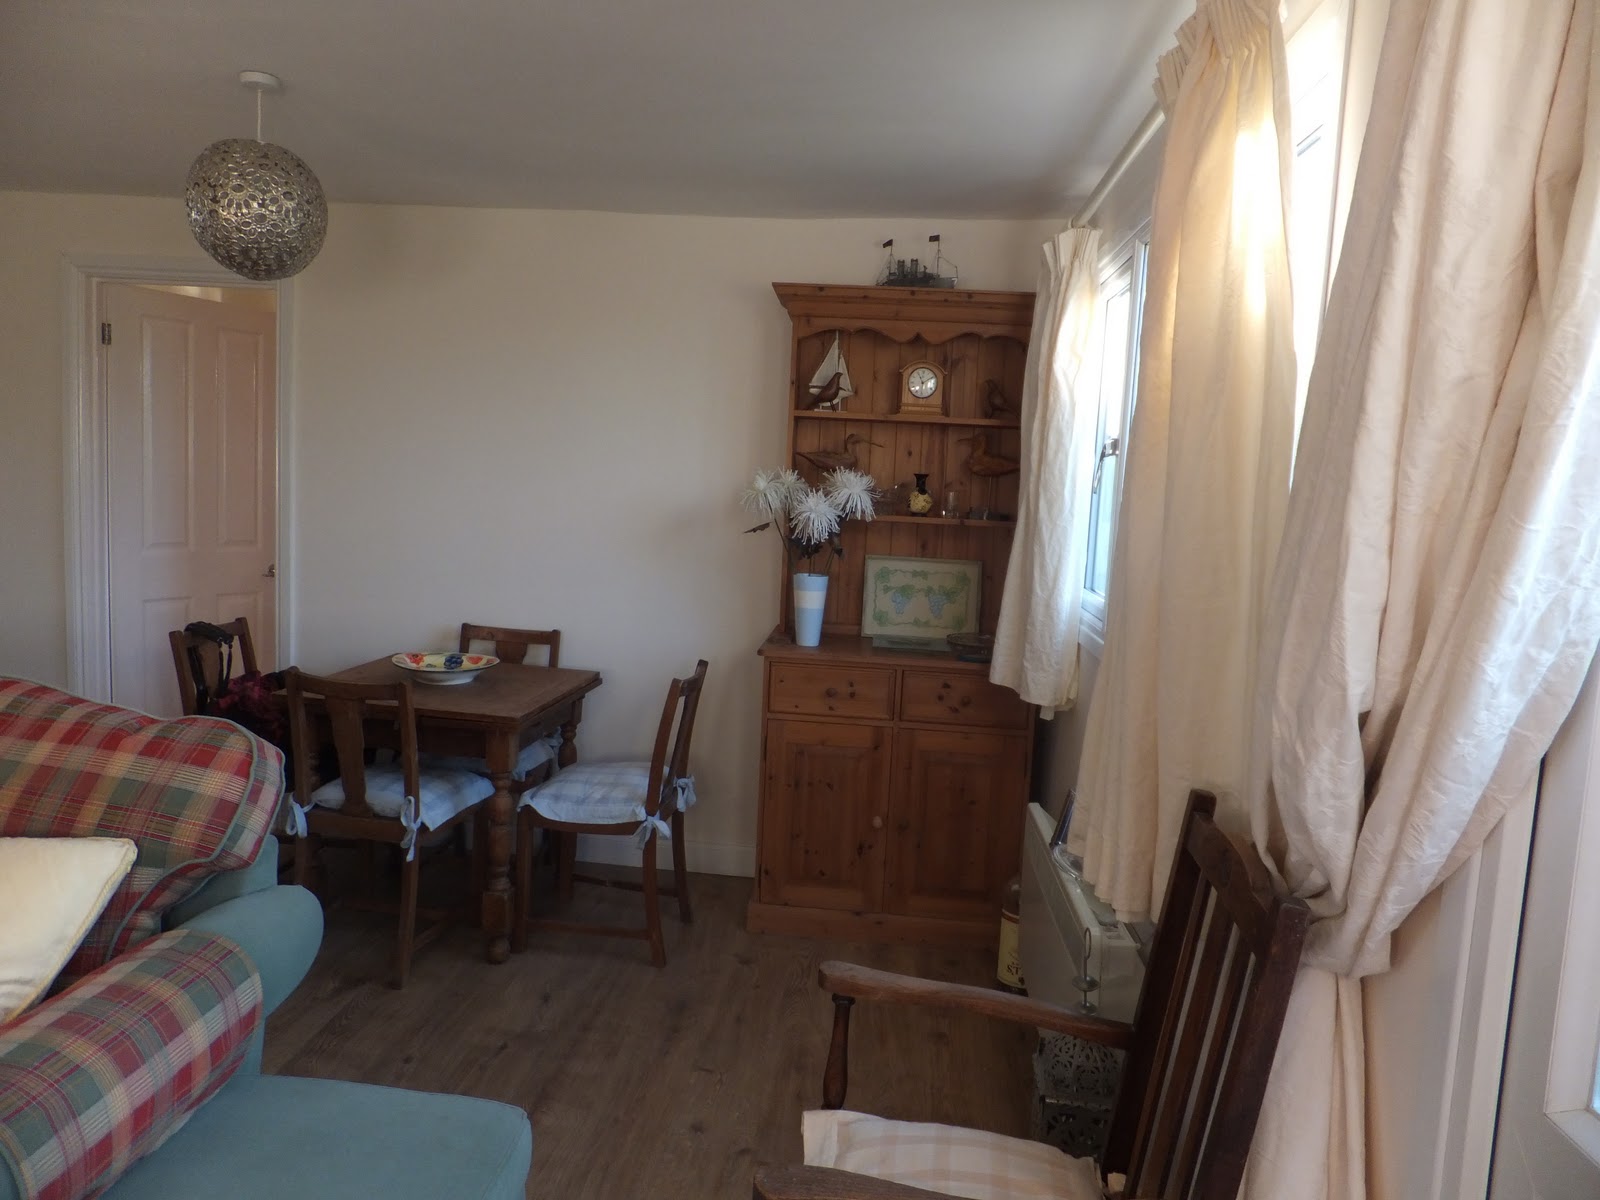
Those of you who know us know that our little holiday hideaway in Kent is what keeps us sane, especially since our accident nearly 4 years ago which changed life totally.  We have been doing some work (not us, just the organising and project managing!) to make it a comfortable as possible and as disabled friendly as possible and we are now getting towards the end of the road and we are soooooo pleased and excited.  Our new bed (the old leg needs a bit more room now) arrives early in Feb and then it will all be complete and ready for lots of good times, laughter and happy meals shared with family and good friends.

A couple of pics of the near finished article!

NOT QUITE THERE!


Roll on the sunshine and Summer xxxx

Good Luck Julie & Amy!

Good Luck Julie xx


Good Luck Amy xxx
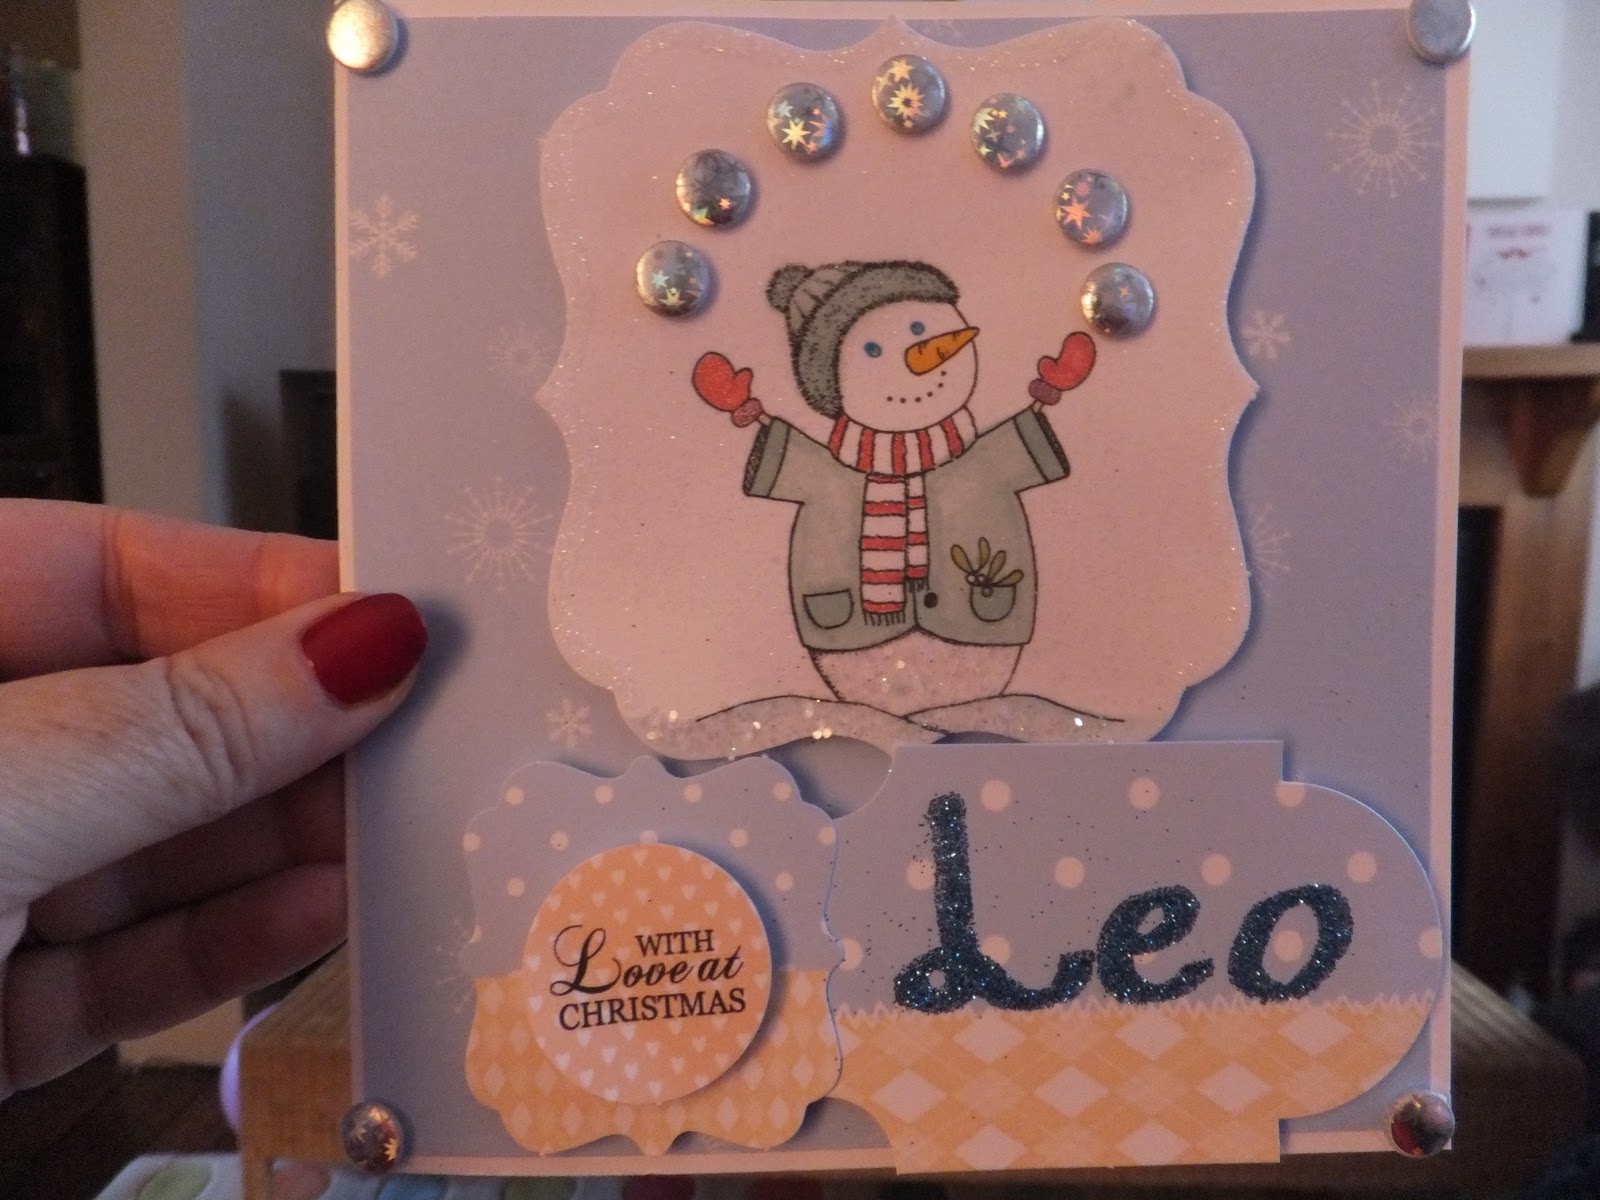
Hi to my fav crafting experts Julie & Amy who will be presenting QVC's TSV on lots of shows from 12 midnight tonight. Two ladies who I always enjoy watching, make the shows so entertaining, provide fantastic tips and remain sooo professional throughout.   Have made a couple of cards which should have been sent to QVC in time for tonight but unfortunately life took over and last week didn't happen as hoped, c'est la vie!!

Anyway my diary is cleared (don't worry Julie, your work won't be forgotten!!) and I will be watching every show and trying desprately not to spend what I can't afford!!

Good luck & big hugs, Mars xxx

Christmas Crazy Rush!

Maybe I'm just getting old but I seem to be constantly chasing my tail!  Its been an unbelievably hectic 7 days and still another 24 hrs to the big, planned for event. 

All the months of planning and preparing and choosing little gifts for everyone that mean something to them and just when I'm about to cross the finish line the unthinkable happens.   I was so looking forward to a visit from my good friend and her lovely 5 year old twin girls, thinking we'll relax and catch up, eat mince pies and have a little drop of gin, paint the girls nails and help them make cards for 'mummy', the unthinkable was a nasty dose of tonsillitis which really knocked me out.  No sniffles, no cough just the most awful sore throat and swollen glands and a temp of 40c. 

The visit was quieter than planned but a nice relax and two days on, the antibiotics are doing the trick and even though talking is still really painful I'm feeling more human and hope to be back in the swing of things tomorrow (miracles do happen).  The only bonus was that lovely hubby, Frank, made all the Christmas phone calls to family and friends tonight so that tomorrow night is total relax and unwind before the big day.  This was a first! but he felt so sorry for me he offered and I very quickly croaked 'yes please'!

Some food prep (quite a lot actually) tomorrow, a couple more bits to wrap and that's it all done and dusted!  lots of baking this week for other people but tomorrow is for us, mince pies and a tiramisu for Christmas day, some sausage rolls for tomorrow night and also cooking a large piece of gammon tomorrow which will be finished with a muscovado & mustard glaze. Also going to prep all the veg for Christmas day, sprouts (we love them!), I cook them with chorizzo and chestnuts, parsnips which will be roasted in goose fat with the potatoes and carrot & squash mashed with butter, cream and lots of black pepper.  The Christmas pudding and cake are made and our lovely friend Lisa provided a fab hamper of home made goodies including lovely chutney's, jams and my favourite chilly jam.  A lot for one day but its always a lovely day, we are sharing it with friends who are coming for the day with their beautiful little girl and another good friend and good neighbour are popping in so all in all it will be lovely.  We'll be skyping all the family in Ireland in the morning and thrn speaking to our grand sons to see what Santa brought, so exciting for thr little ones!

Hope everyone has a really lovely time and a great relax.  Happy & peaceful holidays!  Mars xxx

Here's a couple of pics of what I've been doing.............


Just a couple more pics folks. Also one of our new 'E Bay' bargain kitchen in Holly cottage!

Hi All

Haven't been here for a while as have had quite a few appointments and have been trying to take heed for a change and rest the old leg - v hard for me!!

Anywhere here's what I've been making in the craftroom and kitchen........

Have been usng muslin to make flowers and had some lovely papers for my birthday and a fab Sizzix machine which I can't use at the moment as I need some special spray that I can only find in the US!!  When it gets going it will be great and I will be able to do some fab diecutting.  Also discovered the joys of fab Martha Stewart glitters but also 'wearing' a lot of it as I always soom to have some on my face!!  Anyway here's a couple of photos........


Cards with Candi flowers........

all from craftwork cards.....

I just love Candi!

A few Candi ideas.....

Candi  flowers –  Dahlia


You will need:
2 x 3cm circles
Candi – approx 20 – 26
Candi fix
Silicone glue

Instructions: Dahlia
·         Cut 2 light card circles approx 3cm in diameter for the base of flower
·         Fold one in half and apply adhesive to one half
·         Stick two circles together so that unglued half gives you something to hold whilst making flower
·         Apply candi fix to 10-12 candi
·         Stick candi around the outside of circle making sure to maintain a nice round shape
·         Take 10-12 candi and fold in half giving a good pinch to emphasise fold
·         Taking circle with candi around outside, apply a thick layer of silicone glue around inside circle close to edge of candi
·         Taking folded candi start to build inside layer of flower by placing candi, folded point  and open side of candi down into silicone. Keep as close together as possible maintaining a nice circle
·         When all in place (will take 10-12 candi) use index finger to level nicely into place, this should give just enough space for a nice candi centre
·         Take 2 candi and sandwich together, right side out, with a candi fix between.  Place a nice blob of silicone in the centre of flower to give some height to the centre and place candi centre on top (you could use to candi fix, one on top of the other, instead of silicone)
·         When glue is dry the unglued half of the circle at the back can be finished off by gluing down for a flat backed flower, left loose for a more 3D effect when applying to card or scrapbook page or can also be used to hide a cocktail stick before gluing in place and this will make a great cupcake pick.


Instructions: Lotus

You will need:
2 x 3cm circles
Candi – approx 20 – 26
Candi fix
Silicone glue
(not suitable for foiled candi as insides are white, no reason not to have outside petals foiled though!!)
·         Cut 2 light card circles approx 3cm in diameter for the base of flower
·         Fold one in half and apply adhesive to one half
·         Stick two circles together so that unglued half gives you something to hold whilst making flower
·         Apply candi fix to 10-12 candi
·         Stick candi around the outside of circle making sure to maintain a nice round shape
·         Take 10-12 candi and fold in half inside out (i.e. if you have dotty candi make sure dots are on inside of petal when folded) giving a good pinch to emphasise fold
·         Taking circle with candi around outside, apply a thick layer of silicone glue around inside circle close to edge of candi
·         Taking folded candi start to build inside layer of flower by placing candi, folded point down into silicone with open side of petal facing up. Keep as close together as possible maintaining a nice circle
·         When all in place (will take 10-12 candi) use index finger to level nicely into place, this should give just enough space for a nice candi centre
·         Take 2 candi and sandwich together, insides out, with a candi fix between, this will give a nice ‘cup’ like centre that can be filled with a pearl, gem, or liquid pearl dots.  Place a nice blob of silicone in the centre of flower to give some height to the centre and place candi centre on top (you could use to candi fix, one on top of the other, instead of silicone)
·         Place pearl, gem or liquid pearl in the centre to finish
·         When glue is dry,  the unglued half of the circle at the back can be finished off by gluing down for a flat backed flower, left loose for a more 3D effect when applying to card or scrapbook page or can also be used to hide a cocktail stick before gluing in place and this will make a great cupcake pick.


having a bit of a 'blue' moment when crafting!

Just love these colours from Craftwork Cards, the blues are so fresh and alive and sooooooooo classy!

Candi Wrap...

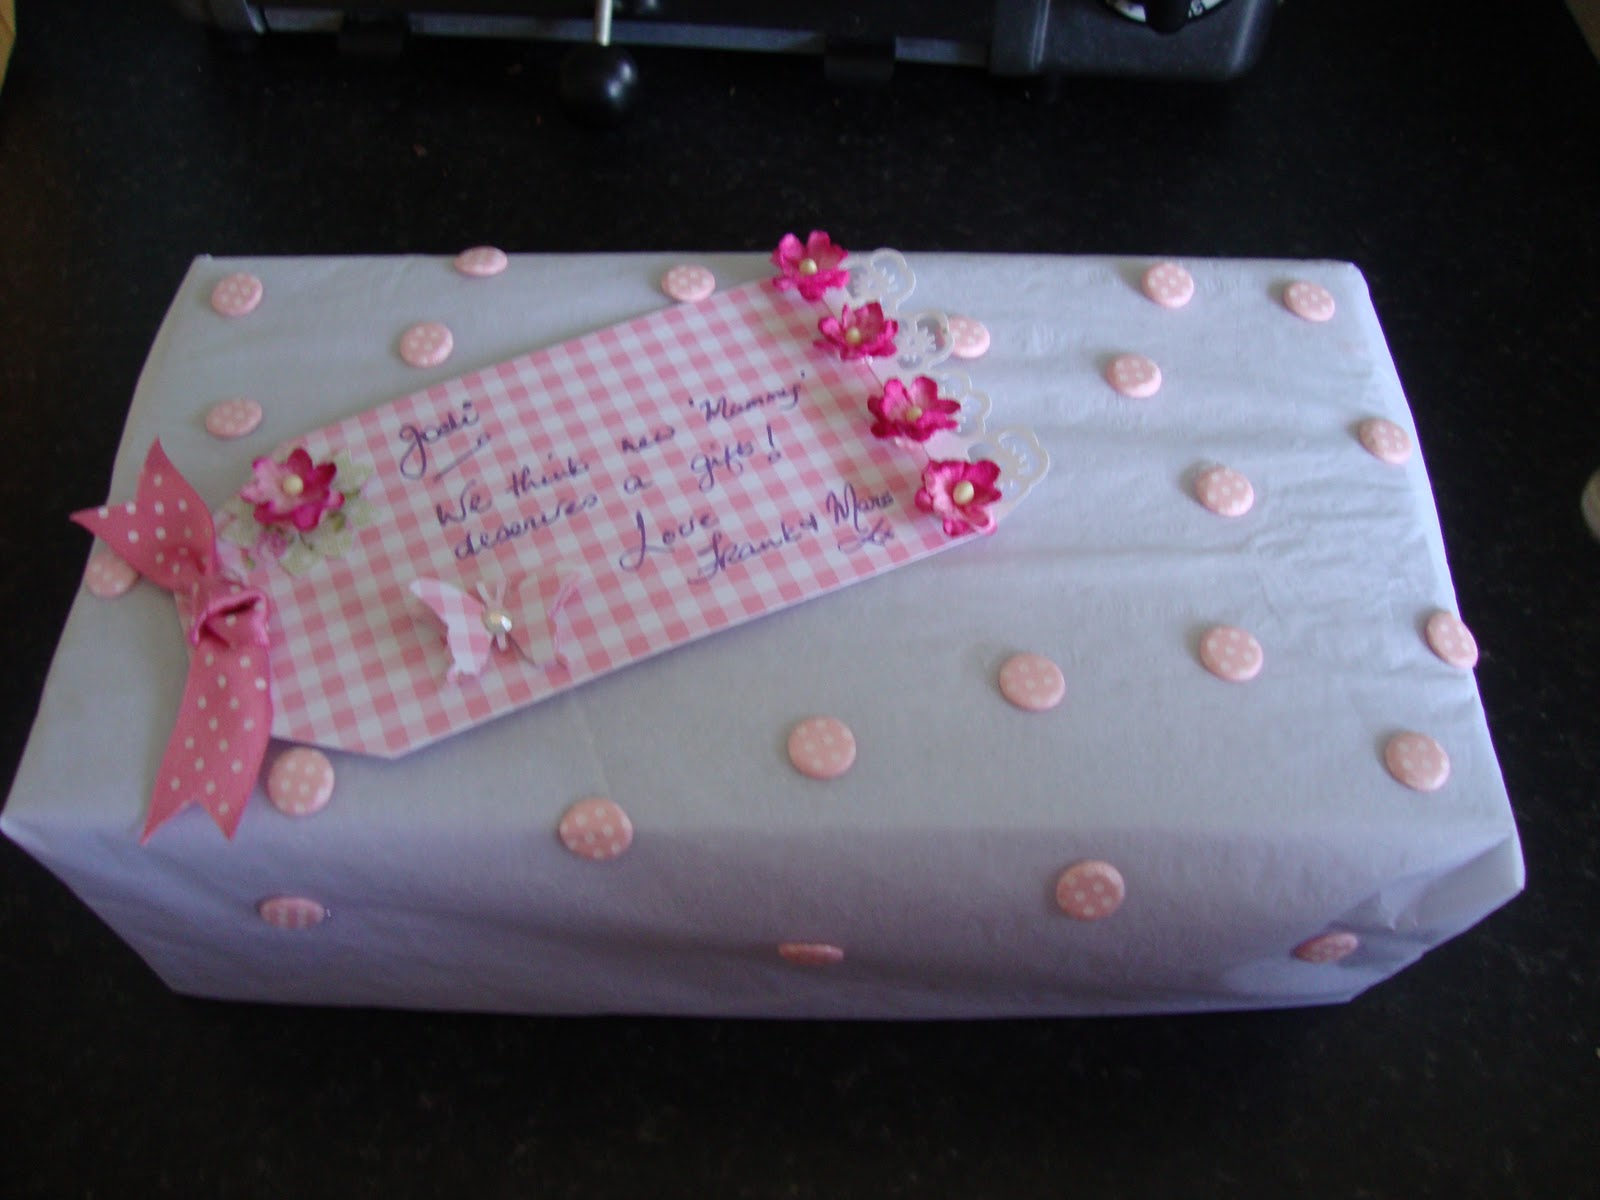
Couldn't find any wrapping paper suitable for a girlie gift without going shopping so used some crisp white tissue and dotted it with Craftwork Cards pink dotty candi.  It went down a treat and I think it looked really cute!

Mars x

been baking and crafting lots!

Chocolate with raspberry & chambourd meringue buttercream / chocolate with Baileys & dark chocolate - yummy!!
Vanilla & ground almond cupcakes with vanilla meringue buttercream.......